Computer to iPhone Music Transfer without iTunes, but Dropbox
You can use Dropbox the same way you use any other cloud service. It can store files, and therefore it can help you transfer them as a secondary function.
Limits:
Though it supports all music files, keep in mind that you have to convert the music first if it’s not in a format supported by iPhone.
The music transferred is not in Music app but Dropbox app. You need to download another music player app.
To use Dropbox to transfer music, simply do this:
Step 1. Sign into your Dropbox account on your computer.
Step 2. Upload the files that you want to transfer.
Step 3. Go to the Dropbox app on your iPhone.
Step 4. Download the files to your device from Dropbox.

3. Transfer Music from Computer to iPhone by Streaming
With various streaming music services, you can store and download music that you purchase on that specific platform. There are services like this to choose from, like Spotify, SoundCloud, YouTube Red, etc.

Limits:
Of course, the major limitation here is that it costs money. Also, you’ll only be able to transfer music to iPhone when you have an Internet connection.
As well, the music is in the specific app instead of in the Music app.
You can share this music with family or friends.
Here is a simple guide that will work with most of them:
Step 1. Sign up for a streaming service and buy music on there.
Step 2. Download the service’s app onto your phone.
Step 3. Download your purchases through the app.Sponsor ads:Setup Dual Monitors in Windows 10 Computer 2019
Sponsor ads:Recover Deleted Video and Audio Files from Android Phone
Sponsor ads:Free File Recovery Software 2019 for Windows and Mac
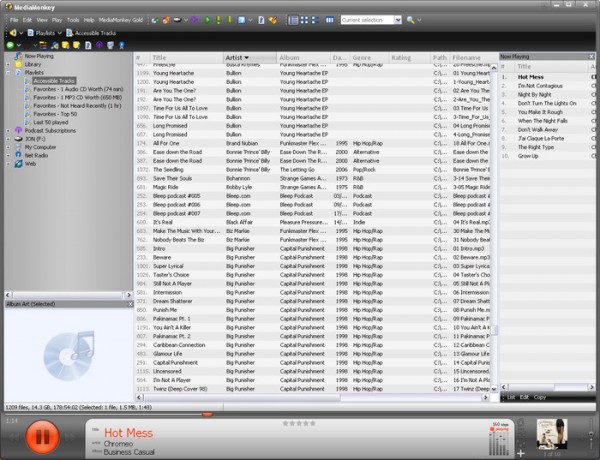
4. Copy Music from Computer to iPhone Using MediaMonkey
MediaMonkey is a tool that you can use to transfer your music. Here’s how:
Step 1. Install the MediaMonkey application on your PC.
Step 2. Run the application, then go to File, and then Add/Rescan Tracks to the Library.
Step 3. You will be able to browse for a folder with your music in it. Do this now, and once you have the folder you want, click OK.
Step 4. Plug your iPhone into your PC.
Step 5. Click on the icon for your device. It should now transfer the music that was in the folder you chose to your iPhone.
One limitation of this is that it only works for Windows, which can be a problem of course if you have a Mac. Another issue is that it simply doesn’t give you as much control over your files as TunesMate. If you need a device manager, definitely consider TunesMate first—it is versatile and has all of the essential features.
No comments:
Post a Comment